Composting isn't a difficult or challenging activity. In the natural world, all organic materials break down on their own, given time. Composting just speeds this natural process. A conventional compost pile yields usable compost in a year or so. "Hot" compost piles take only a few weeks, but the compost has to be processed in batches (see References 1). An actively managed continuous composting system will provide a steady supply of compost throughout the growing season. Gardeners can purchase a commercial continuous composting unit, or construct their own multistage composter.
Commercial Continuous Composter
Step 1
Find or construct a sturdy level surface for your composter to rest on. It should be somewhere convenient to your garden or your kitchen, whichever will be your main source of composting materials.
Step 2
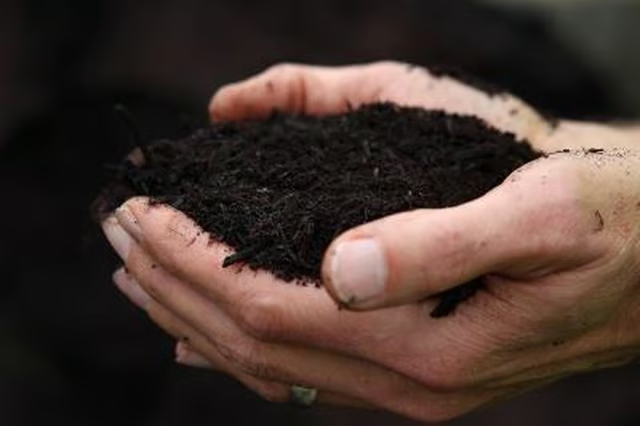
Position your composter in its chosen spot. Before you fill it, make sure there's ample space for your unit to perform its tumbling motion.
Step 3
Start your compost with a layer of carbon-rich "brown" materials such as shredded paper, dead leaves, chopped straw or fine sawdust.
Step 4
Add fresh "green" materials such as food scraps or grass clippings to the compost every few days. For your composter to work efficiently, the green materials can't be more than one-third to one-half of the total (see References 2, page 6; References 3).
Step 5
Tumble the composter every day or two, and keep the contents moist. As decomposition gets under way, the compost's temperature will rise above 100 degrees Fahrenheit and heat-loving bacteria will quickly break down the organic matter.
Step 6
Continue feeding the compost a mixture of browns and greens, keeping it moist and turning it regularly. As the brown, finished compost begins to accumulate in your bin, you can begin removing it for garden use.
Three-Bin System
Step 1
Construct or purchase three adjoining compost bins. Many communities offer workshops and detailed plans for those wanting to build their own composters (see Resources 4).
Step 2
Fill the first bin gradually with a mixture of carbon-rich "brown" materials and nitrogen-rich "greens," as you would with any other composter.
Step 3
Once you've accumulated enough material in the first bin to make a pile roughly 3 feet in each direction, fork it into the second bin. This aerates the compost and gives the heat-loving bacteria an opportunity to flourish. Start a fresh batch of materials in the original bin.
Step 4
Monitor the temperature of the second bin. It should spike to well over 100 degrees F, then begin to cool. At that point, turn and aerate the pile to bring the outside materials to the inside, restarting the hot-composting process. Repeat, until the middle bin has heated itself at least three times (see References 2, page 5).
Step 5
Transfer the finished compost from the middle bin to the third bin, and allow it to age there for a month or two. Fork the contents of the first bin into the now-empty middle bin, as before. Start a new batch of materials in the first bin.
Step 6
Remove the finished compost from the third bin and use it in your garden, or store it for later use. Repeat this process throughout the year, creating a continuous supply of compost until your piles freeze for the winter.